What's In Your First-Aid Kit
Whether it’s hiking, climbing, or skiing, if someone in your party suffers an injury in the backcountry, help is often a long way away. It’s therefore on you to be prepared to perform first aid, stabilize the patient, and, if possible, self-evacuate. While first aid knowledge and training are the two most important pieces of gear that you can carry into the backcountry, having a useful first aid kit is a close third. Buying a generic first aid kit off the rack at your local gear store is a good start, but there’s a lot more that you’ll want if you actually need to treat a serious injury in the backcountry.
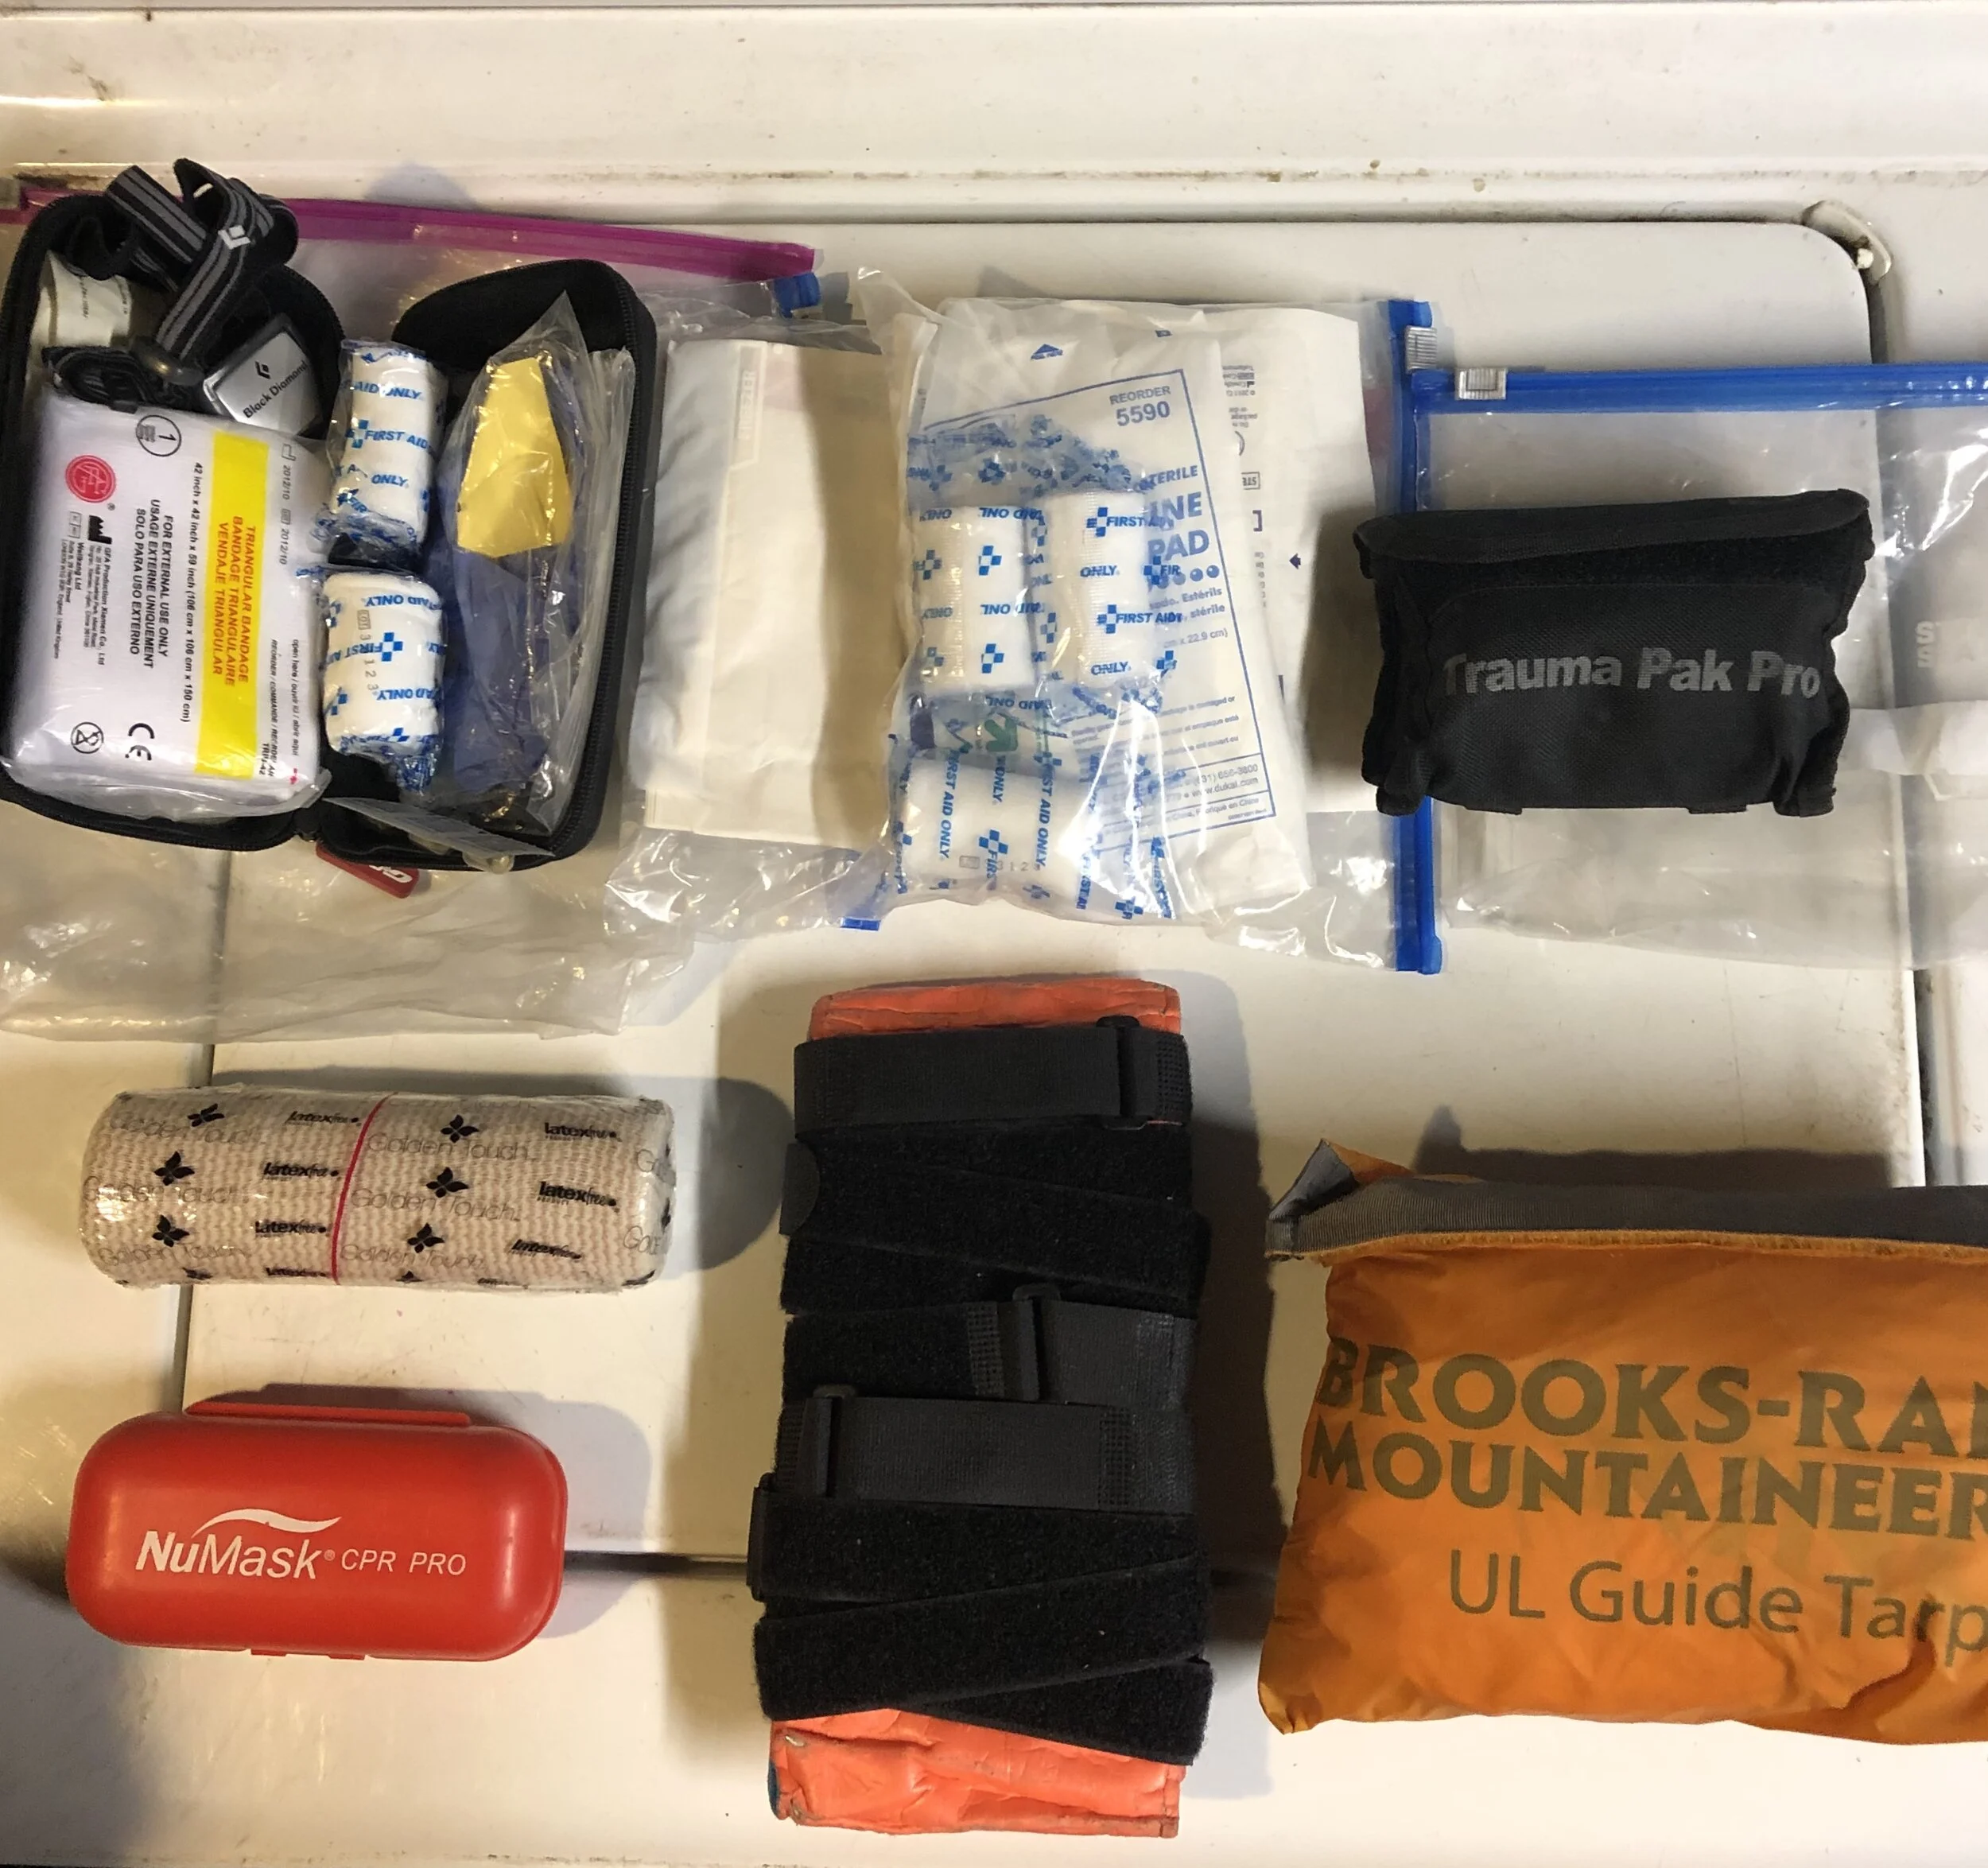
I divide my backcountry first aid kit into five main categories—bleeding control, splinting, medical emergencies, exposure prevention, and communications and self-evacuation. Unlike the front country, where pack weight isn’t that important and I tend to carry a bigger kit, my backcountry kit must also be relatively lightweight and unobtrusive in my pack. Here’s what’s in my kit, with the specifics of each category discussed below.
Bleeding Control
My bleeding control kit has three main components; a boo-boo kit for small scrapes and cuts, a major bleed kit for significant bleeds, and personal protective equipment for BSI.
The boo-boo kit is essentially a small plastic sandwich-size Ziploc bag with a few bandaids and some medical tape. Since scrapes and cuts are among the most common injuries, I try to keep these materials in an easily accessible location in my pack, usually the lid. That way, you don’t have to dig through the entire bag to find a bandaid.
The major bleed kit lives at the bottom of my pack. It includes a tourniquet (I carry a SWAT-T, in part because it doubles as a pressure dressing ), a couple combine pads, some gauze pads, roller gauze, more tape, shears, and extra gloves. In the unlikely event of a major bleeding injury, I can dump out my tube-style pack very easily to quickly access this part of the kit.
BSI: I carry several pairs of medical gloves, that way I’ll have a pair for me and some for additional helpers. I store a pair in the boo-boo kit so that at least one pair is easily accessible. The rest get stored at the bottom of my pack.
Splinting
My trusty Sam Splint comes on just about every White Mountain hike, climb, or backcountry outing that I go on. It’s quite versatile, useful for wrist, arm, ankle, and lower leg injuries. It can also be formed into a makeshift neck collar for a patient with a spinal injury. I’ve wrapped mine in a bunch of Velcro straps—repurposed from climbing rope packaging—to have some quick options for attaching the splint. Sometimes, but not always, I’ll add an ace bandage to wrap an injury.
I also always try to carry trekking poles in the backcountry. In addition to being great for keeping me upright on the trail (injury prevention), they are very useful for stabilizing a fracture of a longer bone.
Exposure Prevention
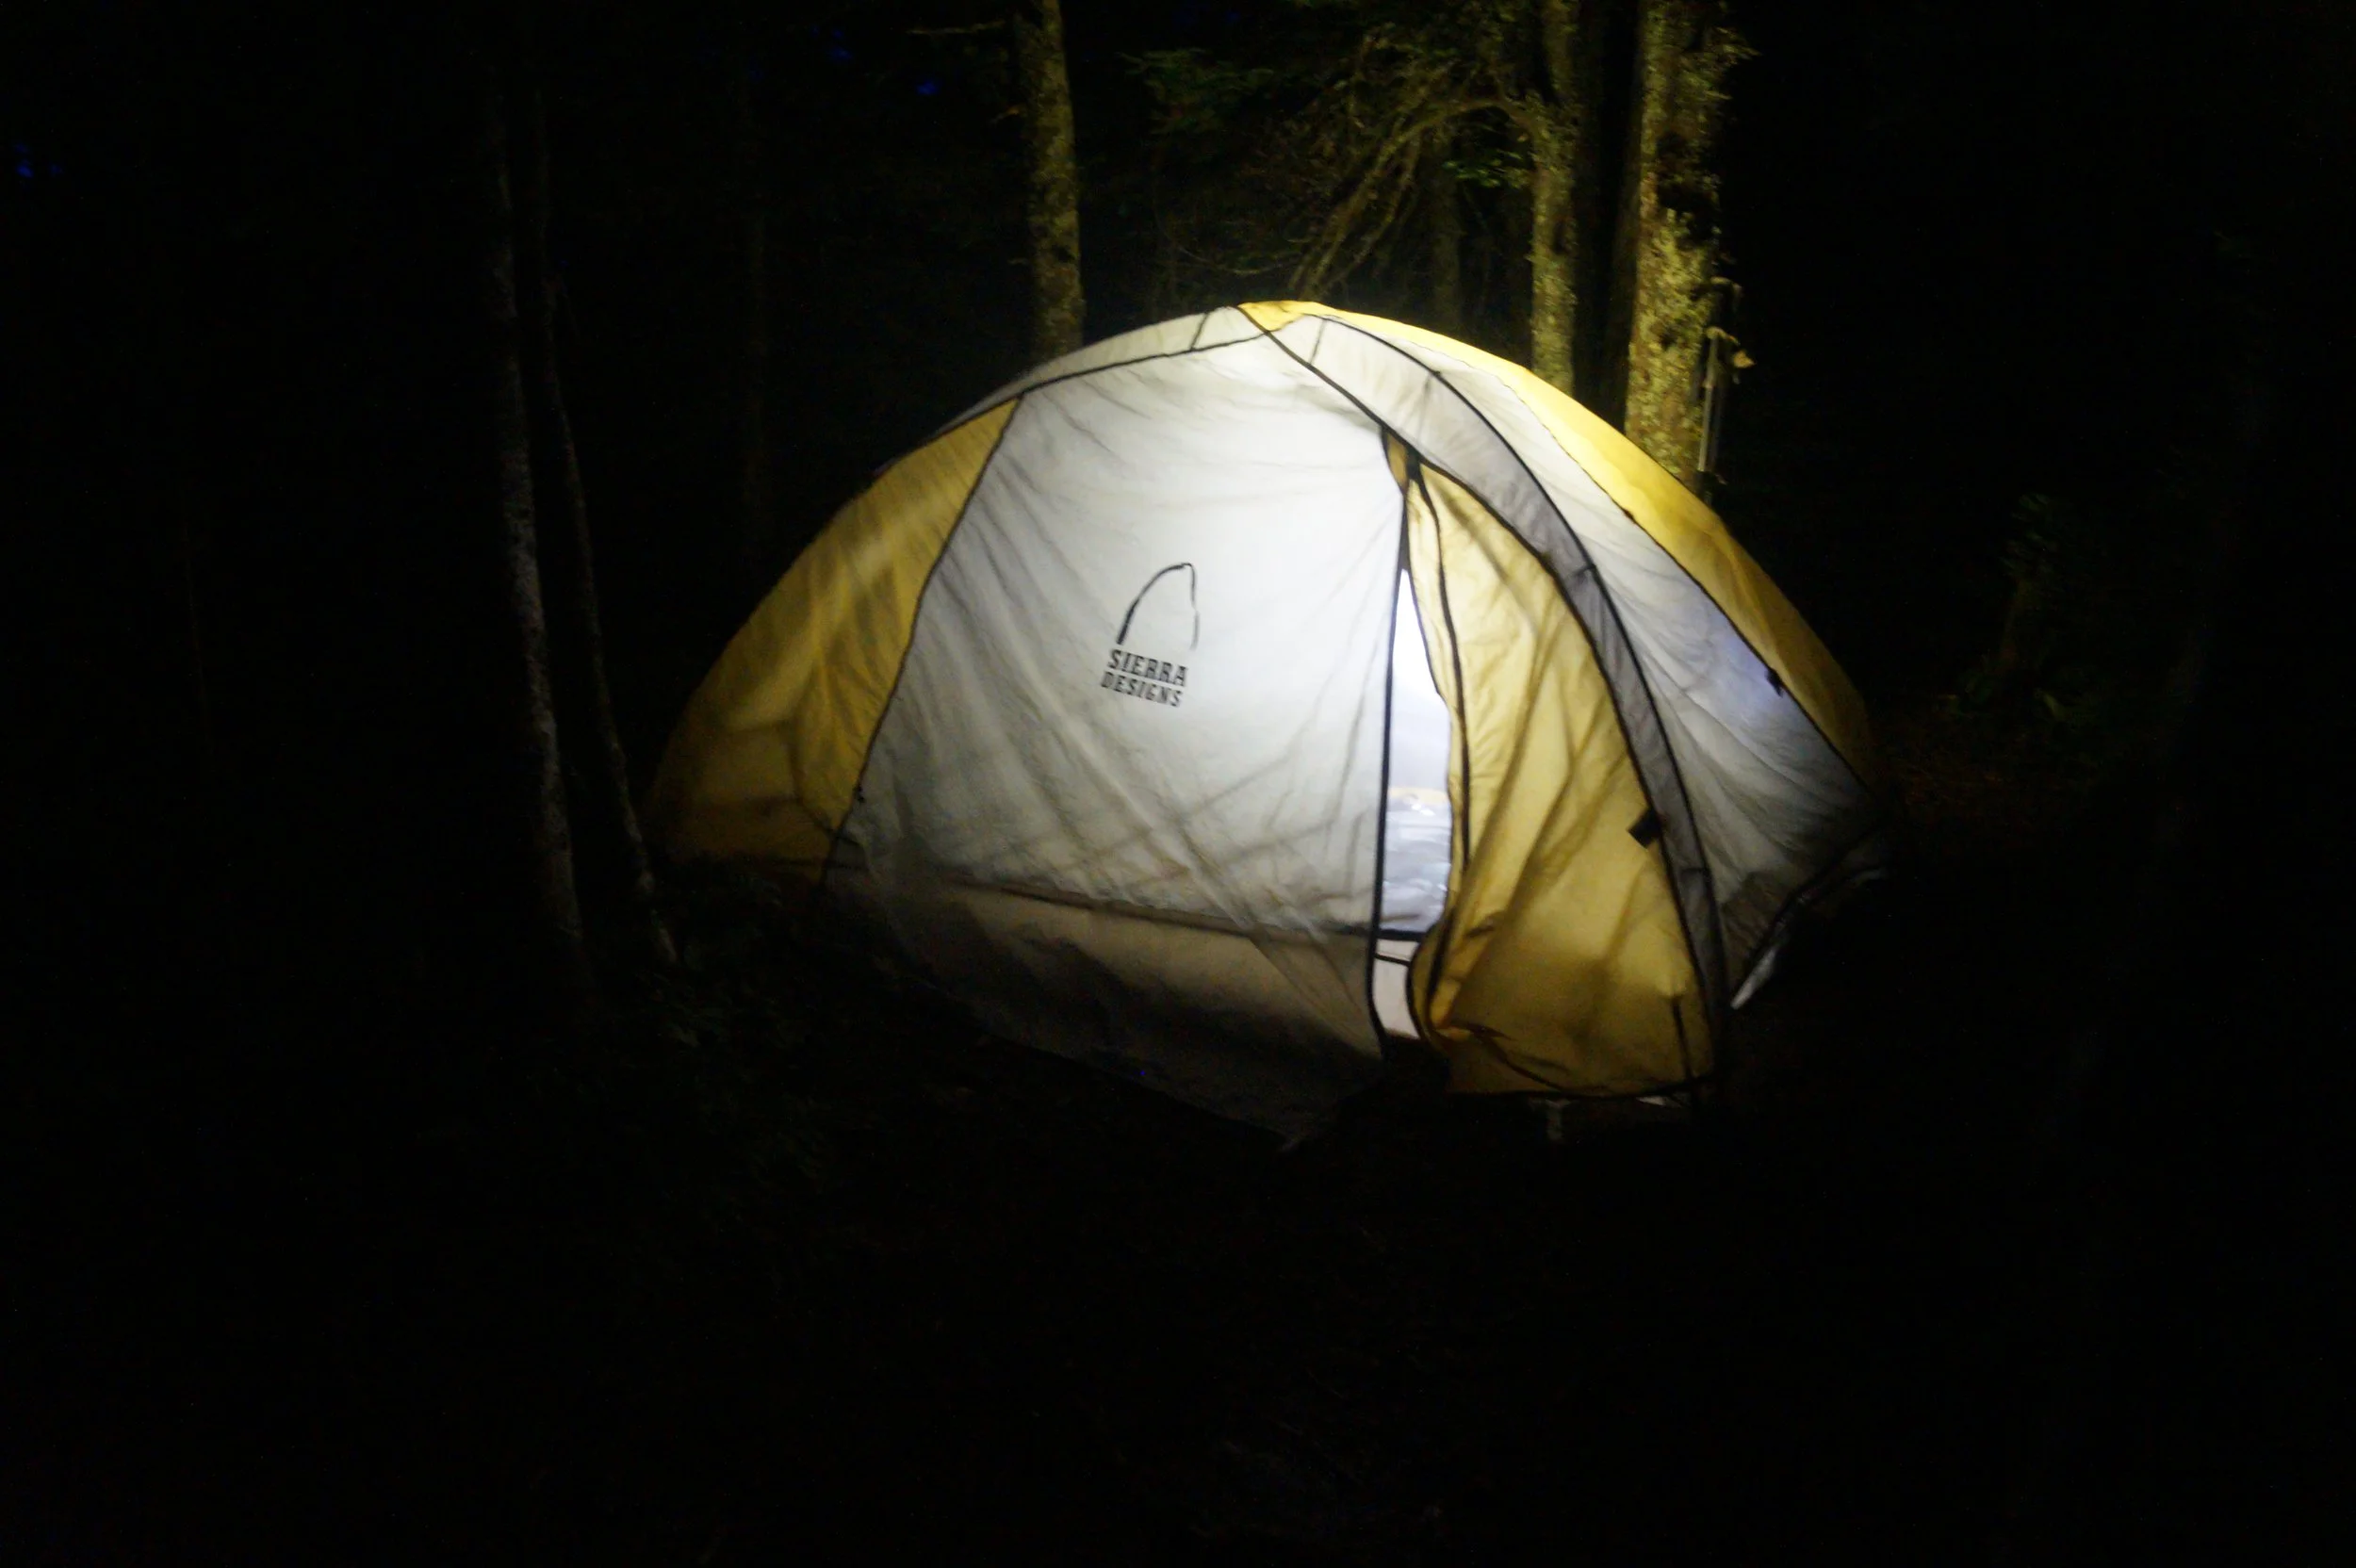
For almost every trip into the backcountry, I carry a headlamp, hat and gloves, a rain shell, a puffy, hand warmers, and an emergency bivy. On warmer days that’s likely enough to survive an unexpected night out.
Colder temps and fading light complicate every backcountry first aid scenario, putting both the patient and the rescuers at risk. Having warm clothes to put on and/or give to the patient is essential. Thus, as the temperatures drop, I’ll add a second puffy, an extra hat and gloves, and possibly an additional layer into my pack. I’ll also adopt a more conservative travel plan.
Getting something between the patient and the ground (or you and the ground if you’re spending an unexpected night out) is also really important. If you’re not carrying a foam pad—I usually don’t on day trips—packs and climbing ropes are good alternative insulators. Bigger, tube-style packs can be both insulators and secondary emergency bivies—just slide as much of your body into the tube as you can.
Which emergency bivy I carry varies by trip and group. Unless I’m going solo, my current bivy of choice is a Guide Tarp from the now-defunct Brooks Range. It can be used as a bivy for one (or more) people, can be built into a variety of shelters (including a snow shelter, as shown in this AMGA video), and, as discussed below, double as a makeshift sled in a pinch. For trips above treeline, I’ll sometimes add a Rab Group Shelter.
Especially for colder-weather trips, I’ve also started trying to have an additional emergency kit that stays in the car. This “car gear”—primarily an extra puffy, some hand warmers, and a sleeping bag—is something that somebody could theoretically hike/ski out to get in an emergency, then bring it back in an emergency.
Medical Emergencies
This portion of the kit is fairly small. I carry a lightweight CPR mask and an oral airway—I like the NuMask Pro Mouth to Mask Device. I also carry an NPA in case using an oral airway isn’t an option. Using both of these items requires some training, so study up if you’re not familiar with them.
On the medicine front, I carry Advil for pain relief and antihistamines for allergic reactions. I usually have an emergency GU packet stashed away, for backup calories and diabetic emergencies. I don’t carry hydration salts, but on planned bigger days I’ll carry an extra GU tab and a water filter like the Sawyer Mini.
Communication & Evacuation
I always carry my cell phone, typically on airplane mode so the battery doesn’t get run down in areas with no coverage. I try to have it fully charged when I leave the car. Carrying an external battery is a good idea too, although I usually only do that on overnight outings or when I know I’ll be using my phone a lot for navigation.
I don’t currently carry a radio or a Spot-like device. Since I spend a fair amount of time outside out of cell coverage, this is one area where my kit could improve.
As I mentioned above, I’ve started carrying a Brooks Range Guide Tarp in part because it doubles as a makeshift sled in a pinch. This is a great option for hiking or climbing when there’s snow on the ground.
When backcountry skiing in areas without evacuation resources (GBA glades, Moosilauke, Cardigan, and Hale), I carry the materials to build an actual rescue sled. These include a ski sled made by Brooks Range, some cordelette, slings, and carabiners to pull it, and an inflatable pad for padding. Convince your partner to carry a sleeping bag and you’ll have a lot of gear if somebody gets hurt.
In the event that evacuation is impossible, I have a lighter in here to help get a fire going. (Just don’t forget to replace it if you end up flying, like I did on this Mt. St. Helens trip).
Three final points. First, if you’re recreating with a partner, before you leave the trailhead make sure to give them a rundown of what’s in your kit, where it is in your pack, and what the general plan is for an emergency. Second, if you recreate with the same partners regularly, spend some time developing overlapping kits so that collectively you’re carrying more than just these items. Finally, if any of this sounds foreign or unfamiliar to you, take some additional first aid training, like a Wilderness First Responder course, a National Ski Patrol Outdoor Emergency Care course, or an EMT course.
That’s pretty much everything. Got something that you think I should be carrying in my kit, tell me in the comments.


